
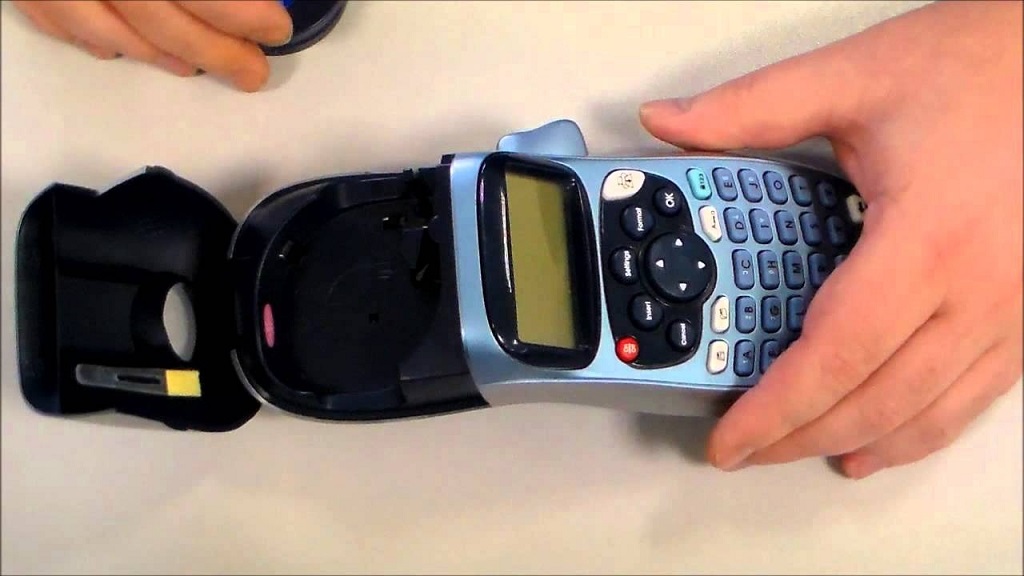
You print a label for that package. It comes out streaky and faint. Frustration hits. Sound familiar? Dirty print heads plague many users. They turn sharp designs into smudges. But you fix it easy.
A DYMO LabelWriter print head heats labels to create text and images. Dust, adhesive bits, and residue build up over time. This clogs the thermal process. Clean it right, and labels pop clear again.
Studies show maintenance matters. The U.S. Department of Energy notes that routine equipment care cuts energy use by up to 10% in office settings. A report from the National Institute of Standards and Technology adds that proper upkeep extends device life by 20-30%. These gains apply to printers too. Clean heads mean less waste and better output.
In this guide, you get hands-on steps. We cover signs of trouble, tools you need, and pro tips. Follow along. Your DYMO runs like new.
Why Clean Your DYMO LabelWriter Print Head?
Dust gathers fast in busy spots. Offices, warehouses, even home desks see label printers work hard. Residue from labels sticks to the head. It blocks heat transfer. Prints fade.
Skip cleaning, and problems grow. Streaks appear first. Then full blanks. You waste labels. Time slips away fixing errors. In high-volume spots, this adds up.
Clean heads deliver value. Prints stay sharp. You save on replacements. One user shared how weekly wipes fixed constant jams. Output doubled without new gear.
Think of it as car maintenance. Oil changes keep engines smooth. Print head care keeps labels crisp. Start now. See the difference.
Common Causes of Print Head Buildup
Labels shed tiny particles. Adhesives leave sticky films. Dust floats in from air vents. Heat speeds the mess.
Non-DYMO labels worsen it. Their coatings differ. They gum up faster. Stick to branded rolls for best results.
Humidity plays a role too. Moist air traps more gunk. Dry environments help. But buildup happens anyway.
Benefits of Regular Cleaning
Sharp labels build trust. Customers read clear addresses right. Errors drop.
Efficiency rises. No more reprints. One small business cut label waste by half after routine cleans.
Longer life for your printer. Less strain on parts. You focus on work, not fixes.
Energy savings sneak in. Clean heads use power better. That NIST stat? It fits here.
Signs Your DYMO LabelWriter Print Head Needs Cleaning
Spot issues early. Save headaches.
Faded text tops the list. Letters look washed out. Heat fails to mark the label full.
Streaks run across prints. Lines of white or dark mar designs. Dust streaks cause this.
Blank spots scatter through. Dots of nothing in solid areas. Residue blocks spots.
Labels feed wrong. Jams or skips happen. Buildup affects sensors too.
Prints slow down. Machine labors more. Output drops.
Test it. Run a full sheet. Check for even coverage. Faint areas scream clean me.
One office worker noticed streaks after 500 labels. A quick wipe fixed it. Output bounced back.
Ignore signs, and damage spreads. Heads wear uneven. Fixes cost more.
Tools and Materials for Cleaning a DYMO LabelWriter Print Head
Gather simple items. No fancy kits needed.
DYMO cleaning cards lead. They swipe residue safe. Official ones work best.
Isopropyl alcohol at 90% or higher. It cuts adhesive without harm. Get pure stuff.
Cotton swabs or soft brushes. Lint-free types grab dust fine.
Dry, lint-free cloths. Microfiber shines here. No fibers left behind.
A business card works in pinch. Dab alcohol on it for swipes.
Optional: Compressed air. It blasts loose bits. Use short bursts.
Keep gloves handy. Protect hands from alcohol.
Store tools dry. Ready for next time.
Pro tip: Label your kit. Grab and go.
Step-by-Step Guide: How to Clean a DYMO LabelWriter Print Head
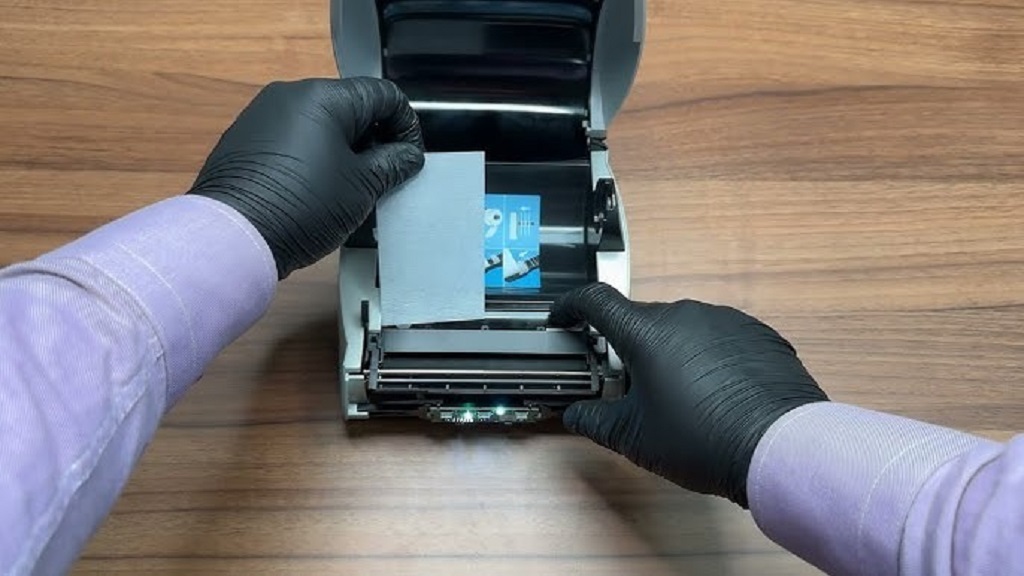
Power off first. Unplug USB. Keep power cord in if model needs it. Safety first.
Open the top cover. Lift gentle. It clicks open.
Remove label roll. Set aside clean. Dust-free spot.
Inspect inside. Look for obvious gunk. Loose bits on rollers or head.
Wipe surfaces. Use dry cloth. Sweep dust light.
Run cleaning card. Insert like label. Feed through two to three times. Watch dirt transfer. Repeat till clean.
For stubborn spots, swab the head. Dip cotton in alcohol. Wipe gentle across print head. No soak. Let dry full.
Clean rollers too. Rollers touch labels. Residue hides there. Swab them same way.
Check sensors. Small black chips guide feeds. Dry swab cleans them.
Blow air if needed. Short puffs clear crevices.
Close cover firm. Reconnect. Test print. Run sample label.
See streaks still? Repeat steps. Patience pays.
This process takes five minutes. Do it monthly for heavy use.
Detailed Steps for Models Like LabelWriter 450
Lift cover. Form lid pops up.
Pull label tray out. Empty roll.
Locate print head. Shiny metal bar across path.
Swab head. Alcohol on tip. Stroke even. Cover full length.
Dry with cloth. Minutes wait.
For 550 series, same base. But check front cover remove on some.
Video guides help. DYMO site has clips.
Cleaning the Label Path and Rollers
Path carries labels. Dust lines it.
Wipe walls. Cloth follows curve.
Rollers spin labels. Lift arm if model has. Swab rubber parts.
Adhesive sticks here most. Alcohol lifts it.
Dry full. Wet spots cause slips.
One tip: Rotate rollers by hand. Clean all around.
Advanced Tips for Maintaining Your DYMO LabelWriter Print Head
Go beyond basics. Build habits.
Clean every 100 rolls. Light use? Quarterly fine.
Use DYMO labels only. Others clog faster.
Store printer covered. Dust shield helps.
Environment counts. Cool, dry rooms best. Heat warps heads.
After big jobs, wipe down. Fresh residue easiest to remove.
Track prints. Log when fades start. Spot patterns.
Upgrade routine. Add air blasts weekly.
Users share wins. One warehouse team halved jams with daily swabs.
Tools evolve. New 2025 cards have better formulas. Check updates.
Troubleshooting After Cleaning a DYMO LabelWriter Print Head
Prints still faint? Check roll. Faulty labels mimic dirt.
Streaks persist? Deep clean. Alcohol soak swab longer.
Jams continue? Sensor issue. Dry clean those chips.
No output? Re-seat connections. Power cycle full.
Faint on edges? Head alignment. Gentle nudge during wipe.
Test patterns help. DYMO software has them.
If all fails, note model. Reach support.
Common fix: Run config page. Resets minor glitches.
Patience key. Most resolve quick.
Best Practices for Long-Term DYMO LabelWriter Print Head Care
Routine wins. Schedule cleans. Calendar reminders work.
Train team. Everyone wipes right.
Stock supplies. Cards and swabs always ready.
Monitor use. High volume needs more attention.
Update software. DYMO apps tweak performance.
Ventilation aids. Air flow cuts dust.
Case study: Small shop cleaned weekly. Printer lasted five years. Labels always pro.
Invest time. Gain reliability.
Related Topics: Gadgets And Equipment for Modern Workplaces
Conclusion
You now know how to clean a DYMO LabelWriter print head. Signs spot early. Tools gather easy. Steps follow simple. Tips keep it going.
Sharp labels flow. Waste drops. Work smooths.
Grab your swab. Clean today. Print tomorrow crisp.
Share your wins below. What fixed your streak?
Related Topics: 5 Office Stationery Gifts for Colleagues and Clients
FAQs
How often should I clean my DYMO LabelWriter print head?
Clean every 100 to 200 labels for heavy use. Light users go monthly. Watch for fades to guide.
Can I use water to clean the DYMO LabelWriter print head?
No. Water leaves spots. Stick to isopropyl alcohol. It dries fast and cleans deep.
What if cleaning doesn’t fix faded prints on my DYMO LabelWriter?
Check labels. Use DYMO brand. Run test page. If stuck, deep swab or support call.
Is it safe to clean the DYMO LabelWriter print head with alcohol?
Yes. 90% isopropyl works best. Apply light. No pooling. Let air dry full.
How do I clean the sensors on a DYMO LabelWriter printer?
Open cover. Find black chips. Dry swab gentle. Blow air loose bits. Test feed after.