
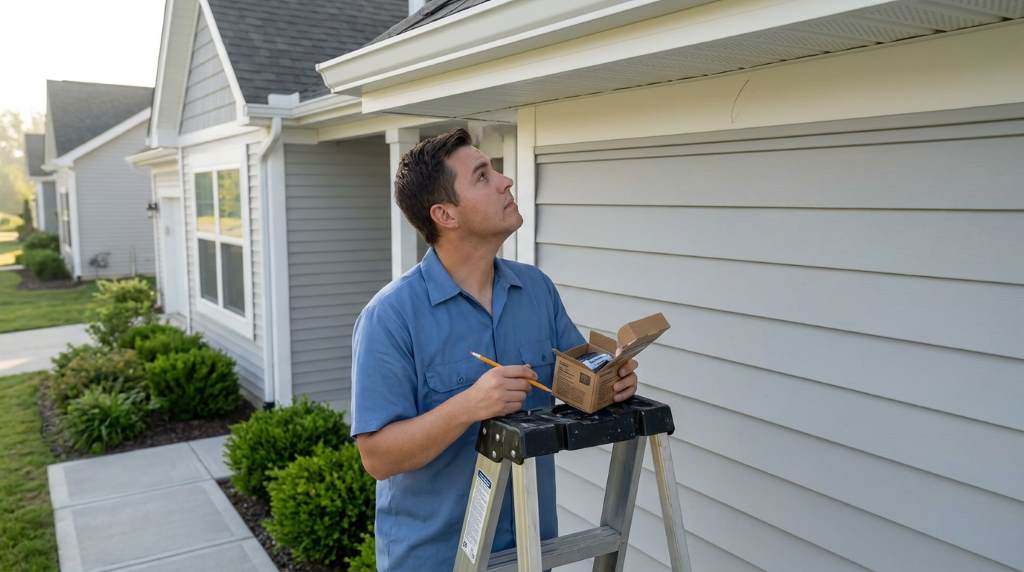
Home security technology continues to grow across the United States as more homeowners protect their properties with connected devices. Studies show that visible security cameras can reduce property crime risks by nearly fifty percent. Many people buy smart security cameras but struggle during installation. Learning how to mount smart security cameras correctly improves coverage, prevents blind spots, and extends camera life. This guide explains every important step in a simple way so you can install your cameras safely and confidently.
Why Proper Camera Mounting Matters
Camera placement affects image quality, motion detection, and overall security performance. Poor positioning often creates shadows or leaves important areas unprotected.
Correct mounting also protects your investment from harsh weather and accidental damage. Additionally, a stable installation reduces false alerts and keeps recordings clear.
Plan Your Security Coverage Before Installation
Every successful installation starts with a detailed security plan. Therefore, identify the locations that need constant monitoring before drilling any holes.
Most homes benefit from cameras around entrances, driveways, and backyard areas. Meanwhile, businesses may need coverage around parking lots and loading areas.
Areas That Usually Need Cameras
- Front door and porch
- Garage entrance
- Backyard gate
- Driveway and vehicles
- Side entrances and pathways
- Large windows facing streets
Choose the Right Height for Smart Security Cameras
Mounting height plays a major role in capturing useful footage. Experts generally recommend placing cameras eight to ten feet above the ground.
This height discourages tampering while keeping faces visible in recordings. However, mounting cameras too high often limits important details.
Best Height for Different Locations
- Front doors: eight feet
- Driveways: nine to ten feet
- Backyards: eight to nine feet
- Garages: eight feet
Select the Best Mounting Surface
Different wall materials require different installation methods and hardware. Consequently, examine your surfaces before choosing screws or anchors.
Brick walls offer excellent stability for outdoor cameras. Wooden siding also works well when installed with weather resistant screws.
Vinyl siding needs special mounts to avoid cracks and water leaks. Likewise, concrete surfaces require masonry bits and stronger anchors.
Gather the Tools Before You Begin
Having the proper equipment saves time and reduces installation mistakes. Therefore, prepare every tool before starting the project.
- Power drill
- Screwdrivers
- Level tool
- Pencil or marker
- Ladder
- Wall anchors
- Measuring tape
- Cable clips
- Safety gloves
Decide Between Wired and Wireless Cameras
Installation methods vary depending on your camera type. Wired systems need power cables and sometimes Ethernet connections.
Wireless cameras simplify installation because they depend mainly on battery power and WiFi. However, they still need strong network signals for reliable performance.
How to Mount Smart Security Cameras Step by Step
Step 1: Test the Camera Position
Hold the camera where you plan to install it and open the companion app. Then check the live view for blind spots and poor angles.
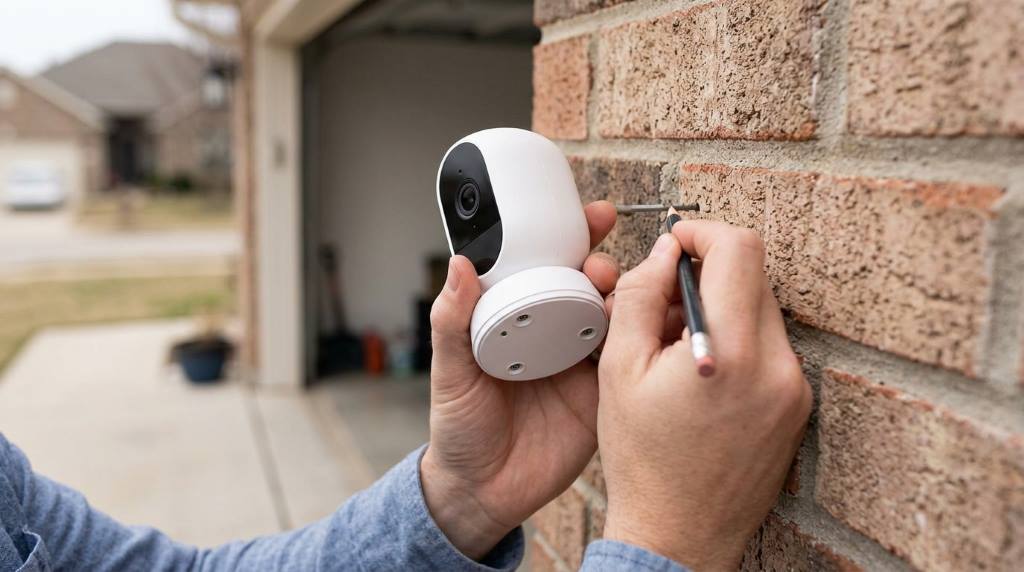
Step 2: Mark the Mounting Holes
Use the mounting bracket as a template on the wall. Next, mark each screw location with a pencil.
Step 3: Drill the Holes
Drill slowly to avoid damaging the wall material. Moreover, choose the correct bit size for the included anchors.
Step 4: Install Anchors and Screws
Insert wall anchors when mounting on brick, concrete, or drywall. Then secure the bracket tightly using the recommended screws.
Step 5: Attach the Camera
Place the camera onto the bracket and tighten the adjustment screws. Afterward, angle the camera toward the desired viewing area.
Step 6: Connect Power and Network
Connect the camera to power if your model requires wired electricity. Then follow the manufacturer’s instructions to complete the network setup.
Avoid Direct Sunlight and Bright Lights
Strong light sources can create glare and reduce image quality. Therefore, avoid aiming cameras directly toward the rising or setting sun.
Streetlights and porch lights may also interfere with night vision features. Instead, adjust the camera slightly to reduce brightness issues.
Protect Outdoor Cameras From Weather
Outdoor installations require extra protection from rain and extreme temperatures. Consequently, place cameras beneath eaves whenever possible.
Weather resistant cable covers also prevent moisture damage and extend equipment life. Furthermore, regular inspections help identify loose connections early.
Manage Cables for a Cleaner Installation
Exposed wires look unattractive and may create security risks. Therefore, hide cables using conduits or protective covers.
Cable clips also keep wires secure and prevent accidental damage. Additionally, organized wiring makes future maintenance easier.
Test Motion Detection and Notifications
Mounting the camera is only part of the installation process. You should also test motion alerts before finishing the project.
Walk through the monitored area and review notification timing. Then adjust the sensitivity settings if necessary.
Common Camera Mounting Mistakes
- Mounting cameras too high
- Ignoring WiFi signal strength
- Pointing cameras toward bright lights
- Covering the lens with nearby objects
- Installing cameras without testing angles
- Using weak screws or anchors
Maintain Your Security Cameras Regularly
Even the best installation requires ongoing maintenance and inspections. Therefore, clean the lenses every few weeks to remove dirt.
You should also update camera firmware whenever new versions become available. Moreover, inspect brackets and screws for signs of wear.
When Professional Installation Makes Sense
Some properties have complicated layouts or difficult wiring requirements. In these situations, professional installation may provide better results.
Experts can also recommend ideal camera positions and improve network performance. Consequently, large homes and businesses often benefit from professional support.
Final Thoughts
Learning how to mount smart security cameras correctly helps you protect your home and improve surveillance coverage. Proper planning, careful positioning, and regular maintenance ensure dependable performance for years.
Take time to evaluate your property and follow each installation step carefully. Start your camera project today and create a safer environment for your family and property.
Frequently Asked Questions
Can I install a security camera without drilling?
Yes, some cameras support adhesive mounts and gutter mounting accessories.
How high should I mount outdoor security cameras?
Most outdoor cameras work best between eight and ten feet above ground.
Do wireless security cameras need power cables?
Many wireless models use rechargeable batteries and do not need power cables.
Should cameras face the street?
They can face the street if they mainly monitor your property and entry points.
How often should I clean my security cameras?
You should clean camera lenses at least once every few weeks.